10-6 카카오톡 알림 만들기
1. 앱 화면에서 버튼을 클릭하는 순간 알림 띄우기
2. 알림에 답장 기능 추가하기
3. 답장에 입력한 내용은 로그로 출력하기
1단계 새 모듈 생성하기
。새로운 모듈 만들기 뷰 바인딩 기법 이용하기
(모듈 수준의 그래들 파일에서 android 부분에 코드 추가)
(... 생략 ...)
android {
    (... 생략 ...)
    viewBinding {
        enabled = true
    }
    (... 생략 ...)
}
2단계 퍼미션 선언하기
。알림을 띄우기 위해 AndroidManifest.xml 파일에 퍼미션 선언하기
<uses-permission android:name="android.permission.POST_NOTIFICATIONS"/>
3단계 브로드캐스트 리시버 작성하기
。알림에서 글을 입력하면 실행될 브로드캐스트 리시버 만들기
1. java 디렉터리 패키지명 마우스 오른쪽 클릭
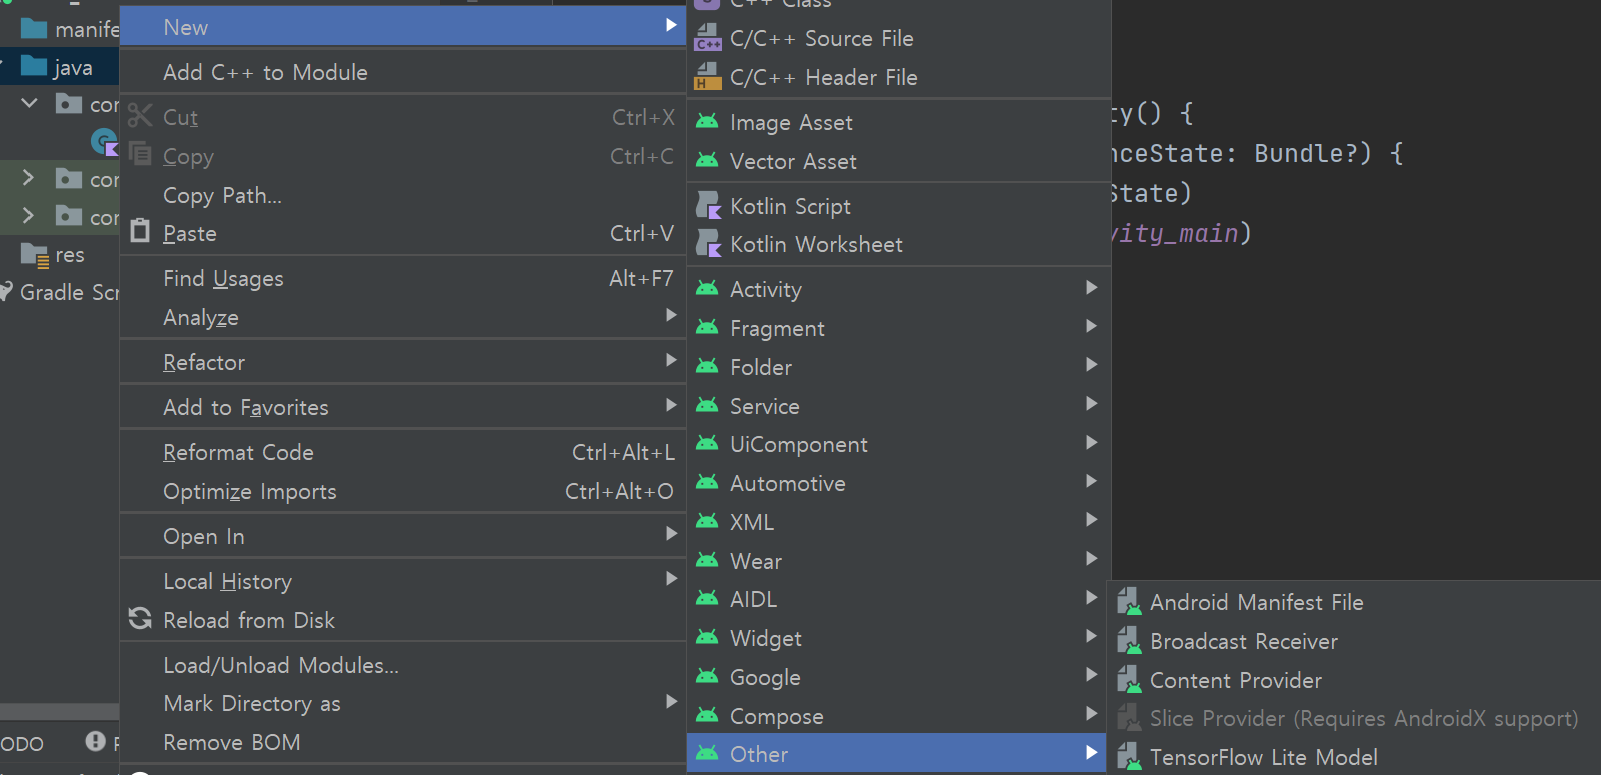
2. [New → Other → Broadcast Receiver] 를 선택
3. 컴포넌트 생성 창 나타나면 클래스명 ReplyReceiver로 입력 후 <Finish> 클릭
4. ReplyReceiver.kt 파일 열고 작성하기
· ReplyReceiver.kt
class ReplyReceiver : BroadcastReceiver() {
    override fun onReceive(context: Context, intent: Intent) {
        // 알림의 입력 글 획득
        val replyTxt = RemoteInput.getResultsFromIntent(intent)
                ?.getCharSequence("key_text_reply")
        Log.d("kkang", "replyTxt : $replyTxt")
        // 알림 취소
        val manager = context.getSystemService(
                AppCompatActivity.NOTIFICATION_SERVICE) as NotificationManager
        manager.cancel(11)
    }
}
。RemoteInput 부분에서 오류 발생하면 Alt + Enter 누른 후 [import] 선택함
이름이 같은 라이브러리 목록 나타나면 androidx.core.app 선택
4단계 메인 액티비티 작성하기
。화면의 버튼을 클릭하면 알림 발생하는 코드 작성하기
RemoteInput 작성할 때 androidx.core.app 라이브러리 임포트하기
· MainActivity.kt
class MainActivity : AppCompatActivity() {
    override fun onCreate(savedInstanceState: Bundle?) {
        super.onCreate(savedInstanceState)
        val binding = ActivityMainBinding.inflate(layoutInflater)
        setContentView(binding.root)

        val permissionLauncher = registerForActivityResult(
            ActivityResultContracts.RequestMultiplePermissions()
        ) {
            if (it.all { permission -> permission.value == true }) {
                noti()
            } else {
                Toast.makeText(this, "permission denied...", Toast.LENGTH_SHORT).show()
            }
          }

          binding.notificationButton.setOnClickListener {
              if(Build.VERSION.SDK_INT >= Build.VERSION_CODES.TIRAMISU) {
                  if (ContextCompat.checkSelfPermission(
                          this,
                          "android.permission.POST_NOTIFICATIONS"
                      ) == PackageManager.PERMISSION_GRANTED
                  ) {
                       noti()
                  } else {
                      permissionLauncher.launch(
                          arrayOf(
                              "andorid.permission.POST_NOTIFICATIONS"
                          )
                      )
                  }
              } else {
                  noti()
              }
          }
    }

    fun noti() {
        val manager = getSystemService(NOTIFICATION_SERVICE) as NotificationManager

        val builder: NotificationCompat.Builder
        if(Build.VERSION.SDK_INT >= Build.VERSION_CODES.O){
            // 26 버전 이상
            val channelId="one-channel"
            val channelName="My Channel One"
            val channel = NotificationChannel(
                channelId,
                channelName,
                NotificationManager.IMPORTANCE_DEFAULT
            ).apply {
                // 채널에 다양한 정보 설정
                description = "My Channel One Description"
                setShowBadge(true)
                val uri: Uri = RingtoneManager.getDefaultUri(RingtoneManager.TYPE_NOTI
FICATION)
                val audioAttributes = AudioAttributes.Builder()
                    .setContentType(AudioAttributes.CONTENT_TYPE_SONIFICATION)
                    .setUsage(AudioAttributes.USAGE_ALARM)
                    .build()
                setSound(uri, audioAttributes)
                enableVibration(true)
            }
            // 채널을 NotificationManager에 등록
            manager.createNotificationChannel(channel)
            // 채널을 이용하여 builder 생성
            builder = NotificationCompat.Builder(this, channelId)
        } else {
            // 26 버전 이하
            builder = NotificationCompat.Builder(this)
        }

        // 알림의 기본 정보
        builder.run {
            setSmallIcon(R.drawable.small)
            setWhen(System.currentTimeMillis())
            setContentTitle("홍길동")
            setContentText("안녕하세요.")
            setLargeIcon(BitmapFactory.decodeResource(resources, R.drawable.big))
        }

        val KAY_TEXT_REPLY = "key_text_reply"
        var replyLabel = "답장"
        var remoteInput: RemoteInput = RemoteInput.Builder(KEY_TEXT_REPLY).run {
            setLabel(replyLabel)
            build()
        }
        val replyIntent = Intent(this, ReplyReceiver::class.java)
        val replyPendingIntent = PendingIntent.getBroadcast(
            this, 30, replyIntent, PendingIntent.FLAG_MUTABLE
        )

        builder.addAction(
            NotificationCompat.Action.Builder(
                R.drawable.send,
                "답장",
                replyPendingIntent
            ).addRemoteInput(remoteInput).build()
        )

        manager.notify(11, builder.build())
    }
}
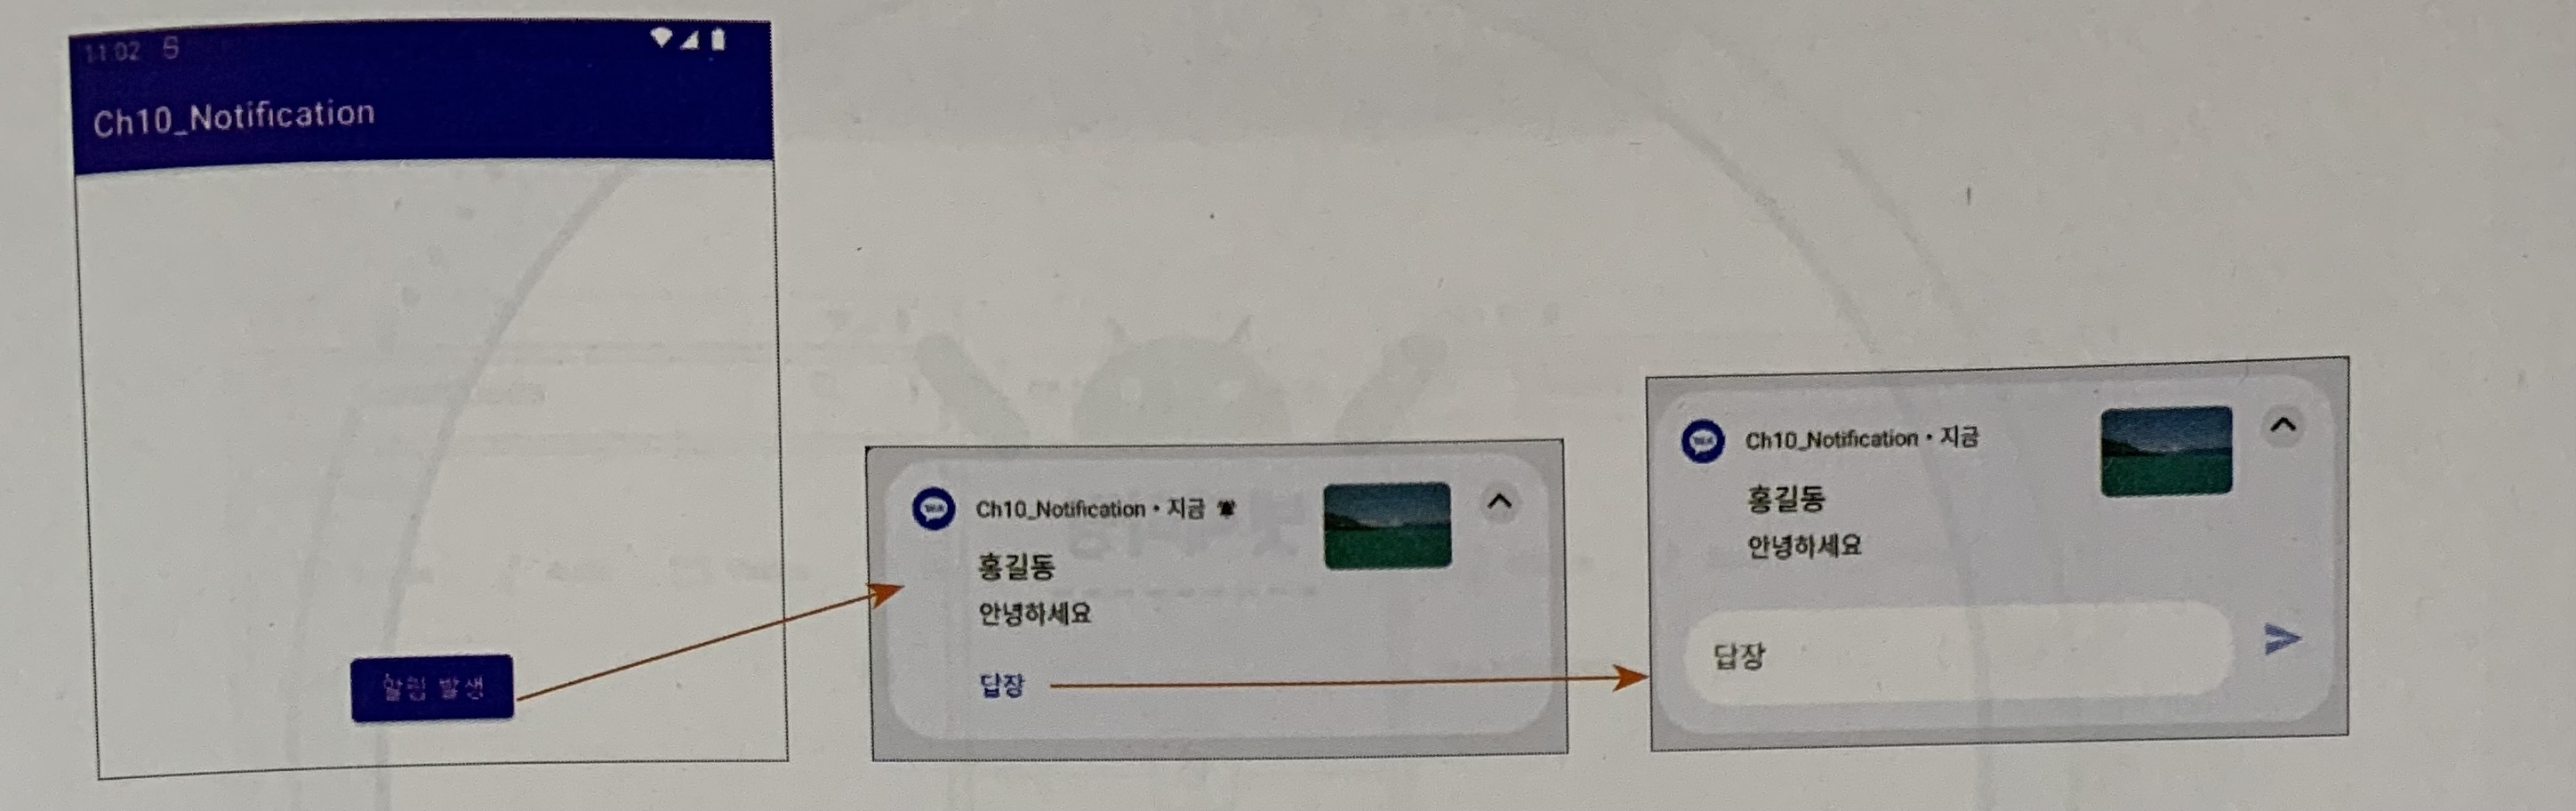
실행 결과
'Kotlin' 카테고리의 다른 글
| [Kotlin / Android] 11. 제트팩 라이브러리 - 제트팩과 androidx 소개 (1) | 2024.03.22 |
|---|---|
| [Kotlin / Android] 10. 다이얼로그와 알림 이용하기 - 알림 띄우기 (0) | 2024.03.20 |
| [Kotlin / Android] 10. 다이얼로그와 알림 이용하기 - 소리와 진동 알림 (0) | 2024.03.19 |


